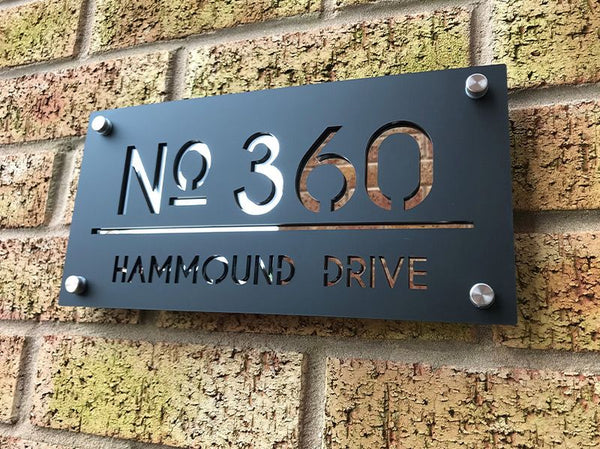
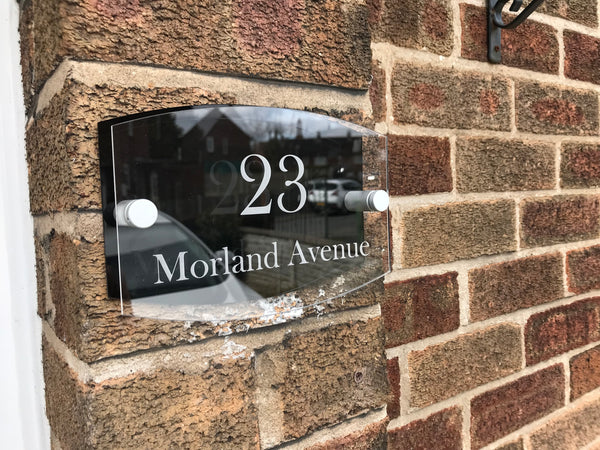
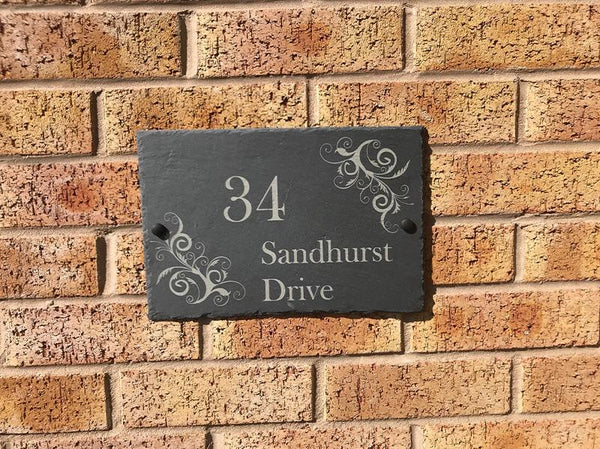
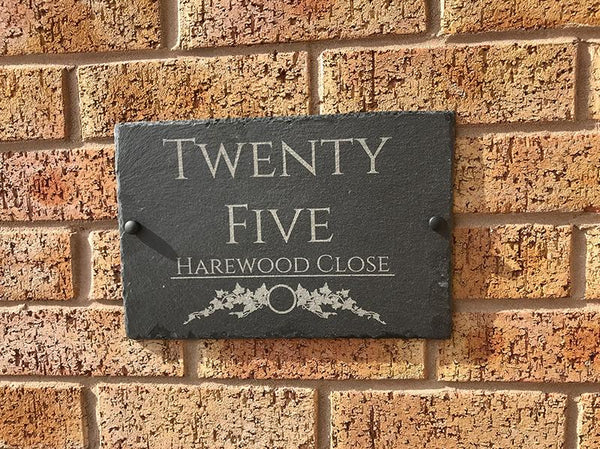
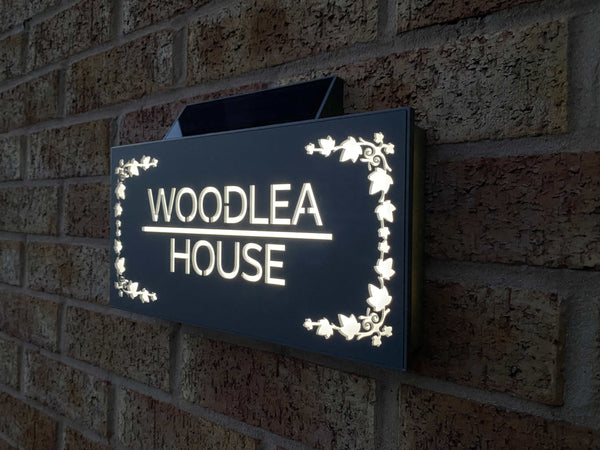
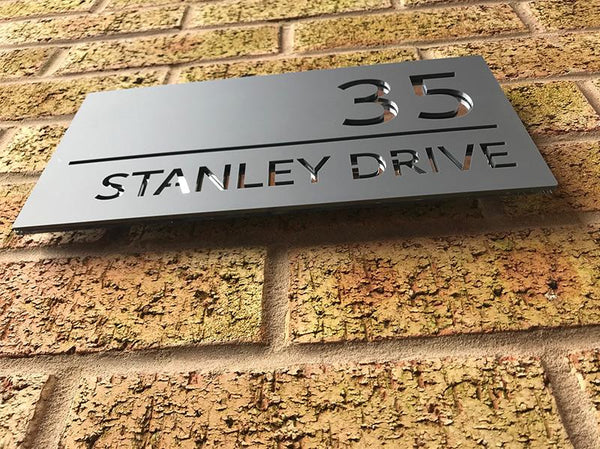
When it comes to modernizing your home's exterior, one often overlooked but impactful detail is contemporary house numbers. These sleek, stylish digits not only serve a functional purpose but also add a touch of sophistication to your home's facade. If you're considering upgrading your house numbers, follow this step-by-step guide for a seamless installation process that enhances your curb appeal.
Step 1: Gather Your Materials
Before diving into the installation, ensure you have all the necessary materials on hand. You'll need your chosen set of contemporary house numbers, a measuring tape, a level, a penci
Step 2: Choose the Right Location
Selecting the optimal location for your house numbers is crucial for visibility and aesthetic appeal. The numbers should be easily seen from the street, so consider factors such as the size of your house, the distance from the road, and any landscaping elements that might obstruct the view. Typically, placing the numbers near the front door or on a well-lit area of your home's exterior is a good choice.
Step 3: Measure and Mark
Using a measuring tape and a pencil, mark the positions where you intend to install the house numbers. To maintain symmetry and alignment, it's recommended to measure and mark the midpoints for multiple-digit house numbers. Additionally, use a level to ensure that your markings are straight and even.
Step 4: Create a Template with Masking Tape
To avoid unnecessary holes in your exterior, create a template using masking tape. Apply the tape to the wall, aligning it with your markings. This step allows you to visualize the placement of the numbers and make any necessary adjustments before drilling.
Step 5: Drill Pilot Holes
Once you are satisfied with the positioning, use a power drill with the appropriate drill bit to create pilot holes at the marked locations. The size of the drill bit should match the diameter of the screws you'll be using. If your house is made of brick or another challenging material, consider using a masonry bit and wall anchors for a secure installation.
Step 6: Install Wall Anchors (if needed)
For added stability, insert wall anchors into the pilot holes. Wall anchors are especially useful when mounting house numbers on brick or concrete surfaces. Gently tap the anchors into the holes until they are flush with the wall.
Step 7: Attach the House Numbers
With the pilot holes prepared and wall anchors in place, it's time to attach the house numbers. Line up the numbers with your markings and secure them in position using the screws provided. If your numbers are individual pieces, make sure they are aligned correctly to maintain a cohesive and polished look.
Step 8: Double-Check Alignment
Once all the numbers are securely attached, step back and double-check their alignment. Use a level to ensure that the numbers are straight and parallel to the ground. Making any necessary adjustments at this stage will guarantee a professional and visually pleasing result.
Step 9: Remove Masking Tape
Carefully peel off the masking tape from the wall, revealing your beautifully installed contemporary house numbers. Dispose of the tape properly to avoid any residue on your freshly installed numbers.
Step 10: Admire Your Handiwork
Stand back and admire the transformation of your home's exterior. The contemporary house numbers not only serve their practical purpose of displaying your address but also contribute to the overall aesthetic appeal of your property.
